Showing posts with label IIS. Show all posts

Wednesday, September 2, 2020

SOLVED - IIS Asp.Net Core Error "500.31 ANCM Failed to Find Native Dependencies"

 In this tutorial we'll learn how to solve the IIS Asp.Net Core Error "500.31 ANCM Failed to Find Native Dependencies"  

This error ocurrs while deploying an Asp.Net Core app to IIS .

First of all, search for the ERROR CODE on the Troubleshoot ASP.NET Core  :


Step by step how to  solve the IIS Asp.Net Core Error "500.31 ANCM Failed to Find Native Dependencies" 

You'll find there that the .NET Core runtime in-process fails to start. OK.

So may be the Microsoft.NETCore.App or Microsoft.AspNetCore.App runtime isn't installed?

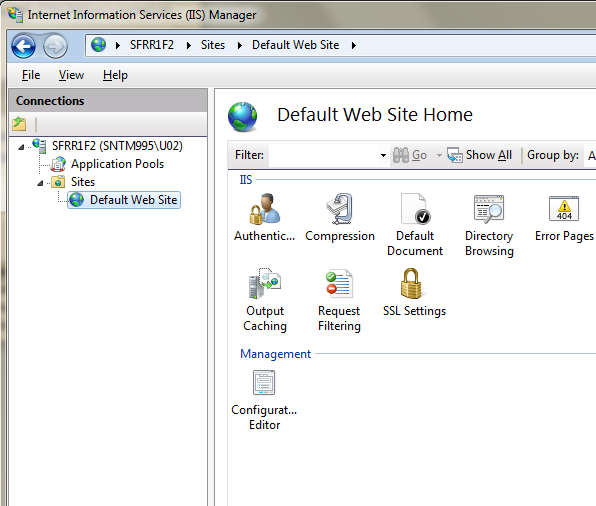
Check the "Modules" tab on your app on IIS . 

However, the Modules are there :


The cause stated at the troubleshoot, is that the version does not exists on the machine:


So, search for the download link on the following url :  Publish an ASP.NET Core app to IIS


Below the title "Install the .NET Core Hosting Bundle" , you'll find the download link :  

Current .NET Core Hosting Bundle installer (direct download)


Download it, and copy it to the machine where the IIS is installed:

Run it as Administrator, and RESTART IIS after the setup is finished (my website >>> STOP >>> START (or RECICLE)) :


That's all.... 
In this tutorial we've seen how to  solve the IIS Asp.Net Core Error "500.31 ANCM Failed to Find Native Dependencies. 
Happy programming.....
      By Carmel Shvartzman

כתב: כרמל שוורצמן


Sunday, December 28, 2014

Adding Robots Files to your Web Site - Web Spiders


In this article we see step by step adding Robots Files to your Web Site. Web Spiders are usually called "Robots", and at the moment of accessing a web page, they are called "User-agents".
A Robots file is a suggestion or request made by you to the Web Spider, to not to index certain files or folders in your web site.
It is important to realize that the directives inside the resultant Robots.txt file are purely advisory for the web crawlers.
Adding Robots Files to your Web Site - Web Spiders


Adding Robots Files to your Web Site


Before we see step by step how to make a Robots file, take a look at the basics of the Robots syntax with this examples:

all robots can enter all files:
User-agent: *
Allow: /


all robots cannot enter some files:
User-agent:*
Disallow:/file1.aspx
Disallow:/file2.html


all robots cannot enter some directories:
User-agent:*
Disallow:/PrivateDirectory/

some robots cannot enter some directories:
User-agent:SomeRobot
Disallow:/PrivateDirectory/

After this short introduction, let's add a Robots file.

Adding Robots Files to your Web Site - Web Spiders


Open the IIS (CTRL-R + "inetmgr") , then open your web site and click on the SEO - Search Engine Optimization:

Adding Robots Files to your Web Site - Web Spiders 1

First you have to add a Sitemap, if you don't have one:
Adding Robots Files to your Web Site - Web Spiders 2

After you created a new Sitemap, click on "Add a new disallow rule":
Adding Robots Files to your Web Site - Web Spiders 3

Here select the URLs of the files and directories that you don't want to index:

Adding Robots Files to your Web Site - Web Spiders 4

For example:

Adding Robots Files to your Web Site - Web Spiders 5

Now let's add the request to index our web site:


Select the whole web site to be indexed:

Adding Robots Files to your Web Site - Web Spiders 6


Now let's see our rules:

Adding Robots Files to your Web Site - Web Spiders 7

As you see, ALL User-agents are ALLOWED to index our site, except for the Disallow rules:

Adding Robots Files to your Web Site - Web Spiders 8

Now let's see the txt file just automatically created:

 It looks as this:


That's all!!!! The same way, you could select all files or folders for exclusion from indexers.

You can learn about the free IIS SEO Toolkit , and how to install, analyze and optimize your web site, in this tutorial.


By Carmel Shvartzman


עריכה: כרמל שוורצמן

Thursday, June 26, 2014

Step by step how to deploy a web site to IIS creating a virtual directory, an application pool and a Web Application

        By Carmel Schvartzman


In this tutorial we'll learn how to deploy a web site to IIS. We'll create a virtual directory, a new application pool , and then we'll upgrade the virtual directory to a Web Application.
We'll first create a Virtual directory, because may be that will be enough for holding your web site. But after that, we'll upgrade it to a Web Application, because if your site is an ASP.NET web site, you'll need additional functionality that only an IIS Web Application can give.
We'll create a new Application Pool, because of stability problems (if there is only one pool and this pool have any problem, then all the applications are affected) , memory leaks(if there is an application with a memory leak, and you decide to regular recycling it, then all the applications running on this pool will get affected) , and security reasons (when you want to give some applications certain rights, like writing to the disk, and others no, then you give each pool different rights).

We'll want to deploy a new MVC asp.net web site to IIS:


The first step will be to create a new Virtual Directory in IIS, so CTL-R and type "INETMGR":


Then add a Virtual Directory, pointing to the physical place of your site:


You can now browse and see your web site in IIS:


We're not done. We want to create a new Application Pool for the new site:


Set the .NET framework according to your needs:


Finally, only in case you have an ASP.NET web site to deploy, you upgrade your virtual directory to a Web Application:


Select the Application Pool we created before:


The virtual directory is now a Web Application:


Browse to your web site:


In this tutorial we've learned how to deploy a web site to IIS, creating a virtual directory, a new application pool , and  a Web Application..

That's all!! 
Happy programming.....

כתב: כרמל שוורצמן