By Carmel Schvartzman
In this tutorial we'll learn how to deploy a web site to IIS. We'll create a virtual directory, a new application pool , and then we'll upgrade the virtual directory to a Web Application.We'll first create a Virtual directory, because may be that will be enough for holding your web site. But after that, we'll upgrade it to a Web Application, because if your site is an ASP.NET web site, you'll need additional functionality that only an IIS Web Application can give.
We'll create a new Application Pool, because of stability problems (if there is only one pool and this pool have any problem, then all the applications are affected) , memory leaks(if there is an application with a memory leak, and you decide to regular recycling it, then all the applications running on this pool will get affected) , and security reasons (when you want to give some applications certain rights, like writing to the disk, and others no, then you give each pool different rights).
We'll want to deploy a new MVC asp.net web site to IIS:

The first step will be to create a new Virtual Directory in IIS, so CTL-R and type "INETMGR":
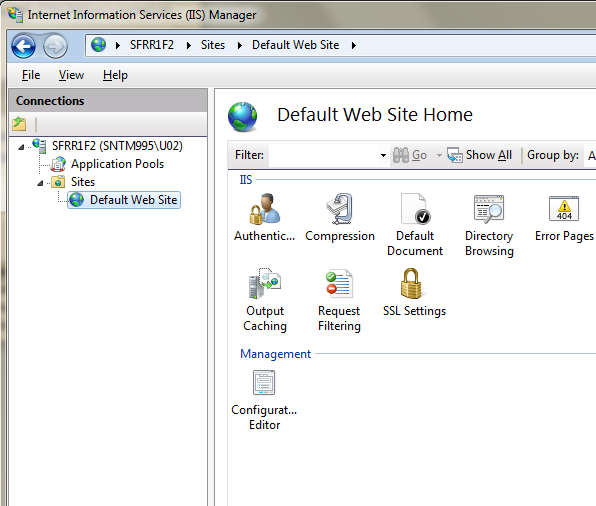
Then add a Virtual Directory, pointing to the physical place of your site:


You can now browse and see your web site in IIS:

We're not done. We want to create a new Application Pool for the new site:

Set the .NET framework according to your needs:


Finally, only in case you have an ASP.NET web site to deploy, you upgrade your virtual directory to a Web Application:

Select the Application Pool we created before:

The virtual directory is now a Web Application:

Browse to your web site:

In this tutorial we've learned how to deploy a web site to IIS, creating a virtual directory, a new application pool , and a Web Application..
That's all!!
Happy programming.....
כתב: כרמל שוורצמן
No comments:
Post a Comment